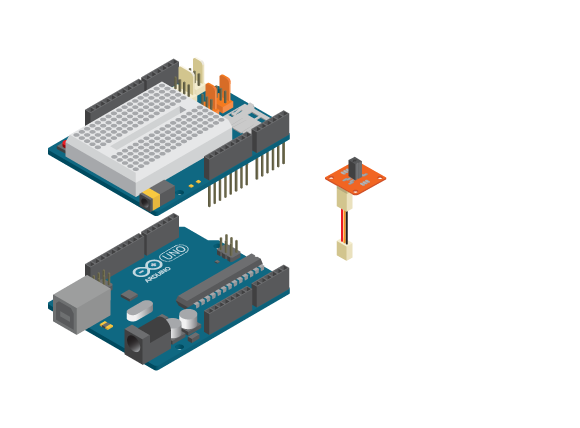
A tilt Switch is a component that detects if it is right side up or tilted.
Materials

- 1 Arduino Uno board
- 1 Education shield
- 1 TinkerKit tilt switch
- 1 TinkerKit wire
Instructions

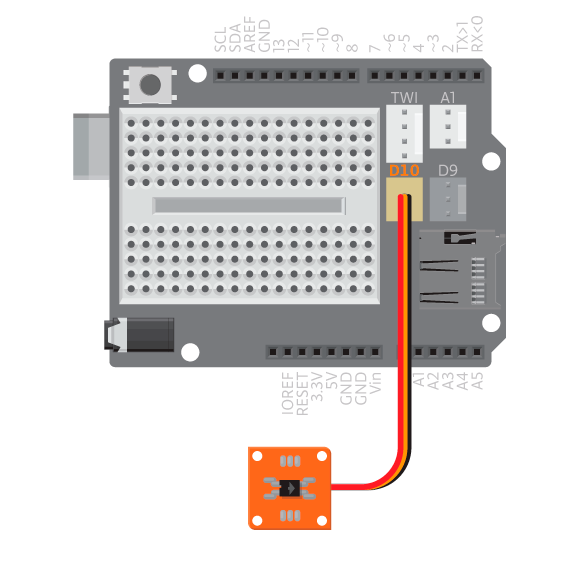
- Attach the shield onto the top of the Arduino board.
- Connect the standard servo to D10.
- Connect the board to the computer and upload example ‘TiltSwitch’.
Code
Find the code in Example>EducationShield>Help>TiltSwitch.
You should now open the serial monitor and follow the printed instructions. Each time you execute an instruction, the serial monitor should print ‘1’.
Commands
TiltSwitch( digitalPin, pressedState )– creates aTiltSwitch object.- Parameters
- (
int)digitalPin– The digital pin to which the tilt switch is connected. -
(
boolean)pressedState– can beHIGHorLOW.HIGHmeans that when the tilt switch is upright it will be read asHIGH, when tilted it will be read asLOW.LOWmeans the other way around. When upright it will be read asLOWand when tilted it will be read asHIGH. Can be ignored.
- (
- Parameters
-
begin()– Initializes the component. Must be called insetup(). pressed( timeout )– checks if the tilt switch is tilted.- Parameters
- (
int)timeout– milliseconds within which the tilt switch should be tilted. Default is 0.
- (
- Return
-
(
boolean) – Returns 1 if tilted within time, otherwise 0. If timeout is not used, the program pauses here until the sensor is tilted.
-
- Parameters
Note: Tilt Switch only have 2 states, up-right or not up-right. It does not detect whether it is upside down or measures the angle of tiltness. So make sure it suits your project.
Troubleshooting
- Make sure you have connected the sensor to the same pin stated in the code.
- If the LED at the back side of the TinkerKit tilt switch does not light up, either the component is broken, or Arduino is not powered.