Serial.begin() and Serial.println() or Serial.print().Example 3.5
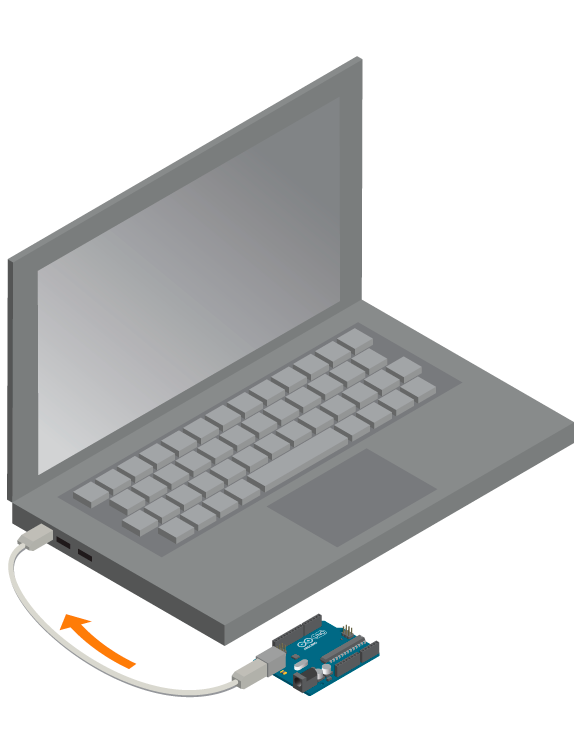
For this example, you will only need your Arduino board. You will send a text message from the board to the computer and monitor it on your computer screen.
Materials

- 1 Arduino Uno board
Instructions

- Upload the code below.
- Open the serial monitor by clicking this icon in the Arduino IDE [Serial monitor icon]
Result
The serial monitor shows everything sent to your computer through the Arduino serial port.
In this example, it should show the same as the screenshot below.

New commands
Serial.begin( speed ): Initializes serial communication. The baud rate, or bits per second, is set withspeed.Serial.println( message ): Printsmessageto the serial port. The next message printed will start on a new line.Serial.print( message ): Printsmessageto the serial port. The next message will start right after the previous one, on the same line.
How it works
- In
setup()the serial communication is initialized with the speed 9600 bits per second. - In
loop(), the message “Hola Caracola” is printed to the serial port. - The program pauses for 1000 milliseconds
loop()continues to loop.
Printing LDR values
An important thing you will need serial communication for is troubleshooting your programs. You see, more than sending static text over the serial port, you can send values that changes over time. This is useful when you want to use an analog sensor but do not know exactly what values it will give you.
In example 3.4, you used a potentiometer to calibrate the LDR program. In this example, you will use serial communication to do that.
Example 3.6
In this example, you will read the analog value from an LDR and print that value to the serial monitor.
Materials

- 1 Arduino Uno board
- 1 Education Shield
- 1 TinkerKit LDR
- 1 TinkerKit wire
Instructions

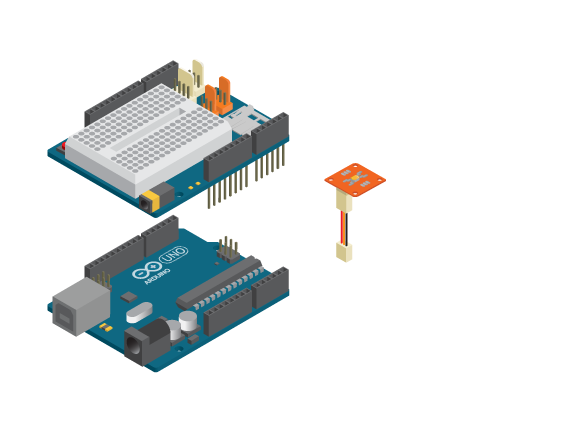
- Attach the shield onto the top of the Arduino board.
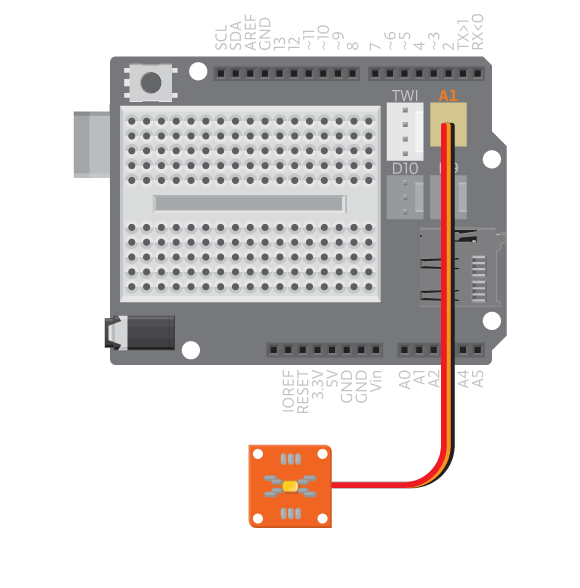
- Connect the TinkerKit LDR to analog TinkerKit connector, A1.
- Upload the code below.
- Open the serial monitor.
Result
You should now cover the LDR with your hand and see how the values change in the serial monitor. When the LDR is covered you should see values closer to 0. When exposed to light you should see values closer to 1000. These values will differ depending on the lighting conditions of your location.
How it works
- In
setup()the serial communication is initialized with the speed 9600 bits per second. - In
loop()the variablesensorValueis declared to hold the analog value read on pin A1. - The value of
sensorValueis printed to the serial port. - The program pauses for 100 milliseconds. This pause is made just to make it easier to read the data printed in the serial monitor.
loop()continues to loop.
Learn by doing
- Declare a variable that holds a mapped value of the sensor reading (use the function
map()). Print both values to the serial monitor and see how they change when you interact with the LDR.