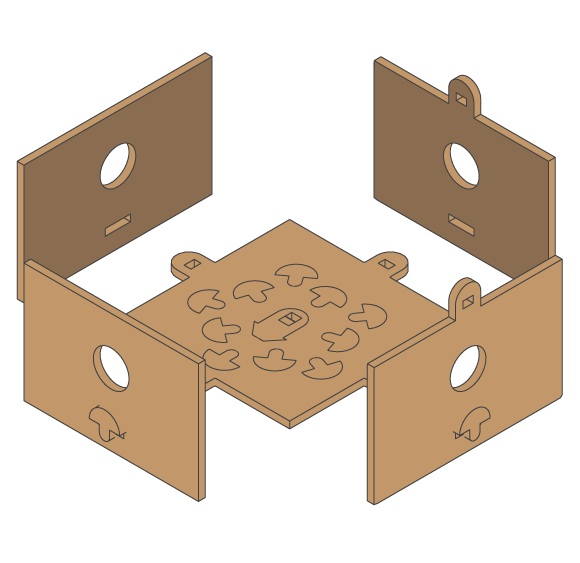
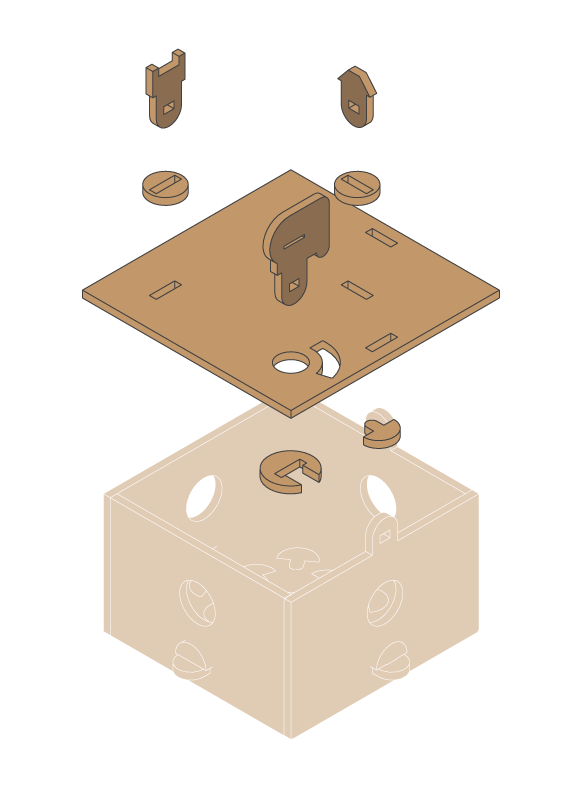
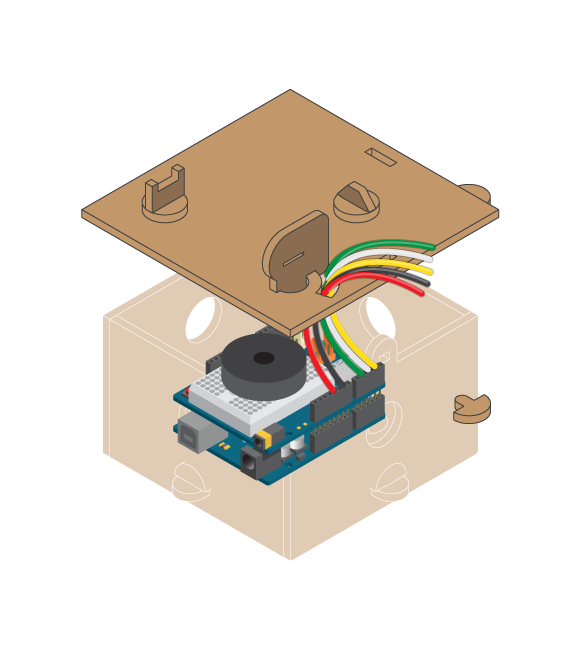
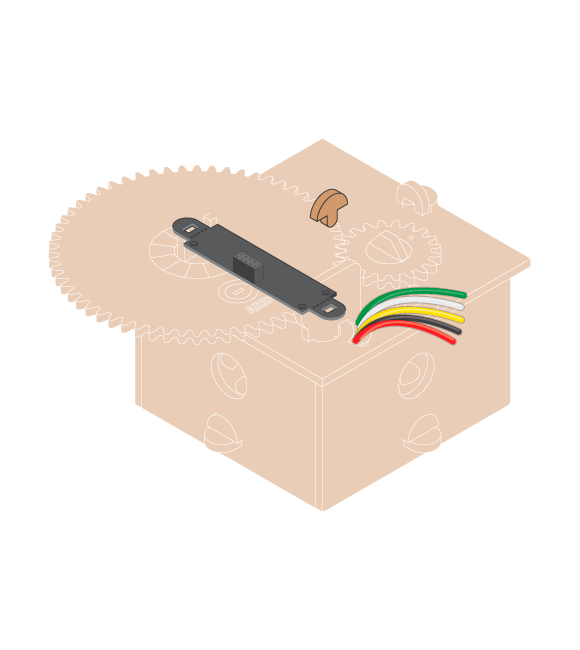
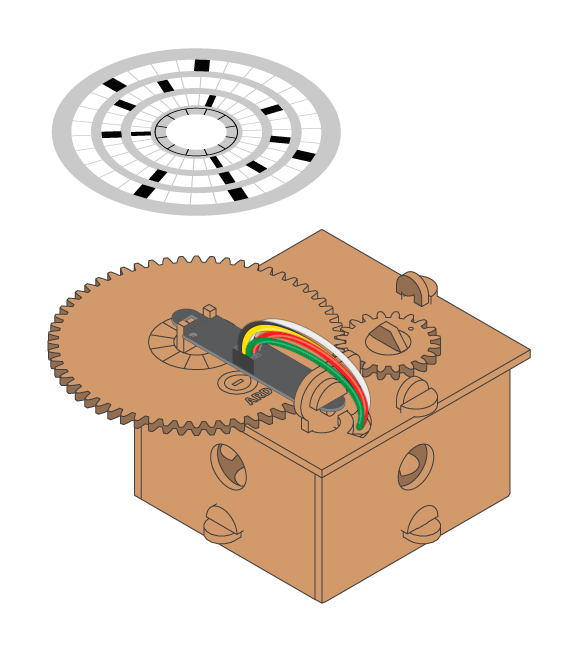
This sort of works as an LP player. The difference is that instead of using a needle on a plastic disc, you use three IR sensors in a row to read a pattern from a paper disc. If you are both musically and digitally inclined, you will have lots of fun creating melodies with this.
Materials
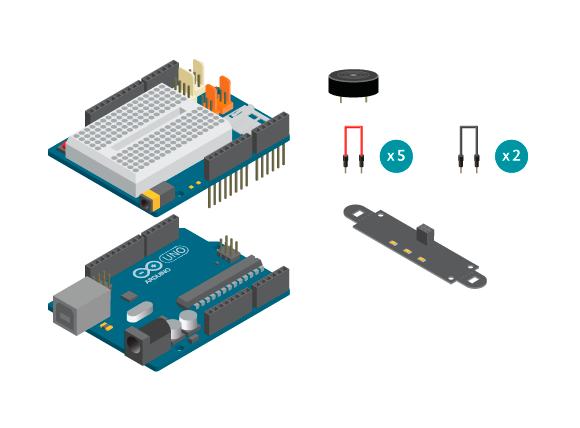
- 1 Arduino Uno board
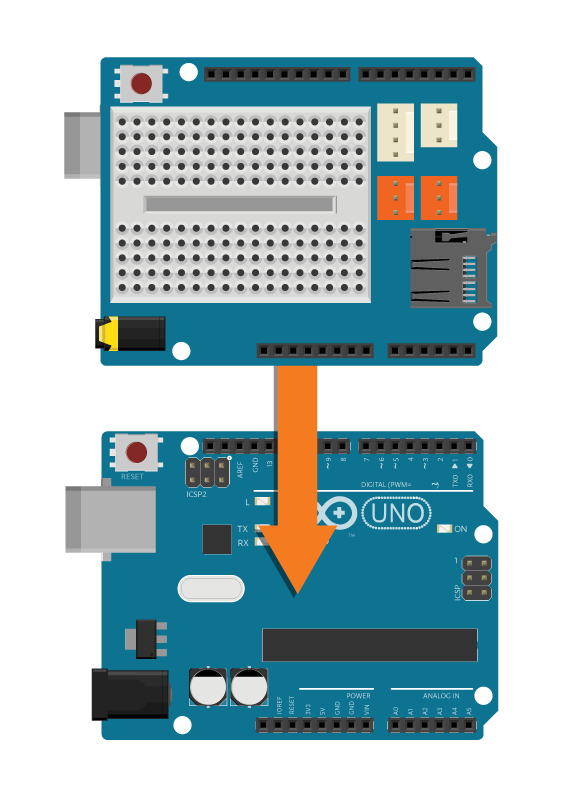
- 1 Education Shield
- 1 IR Array
- 1 piezo speaker
- 2 black jumper wires
- 5 colored jumper wires
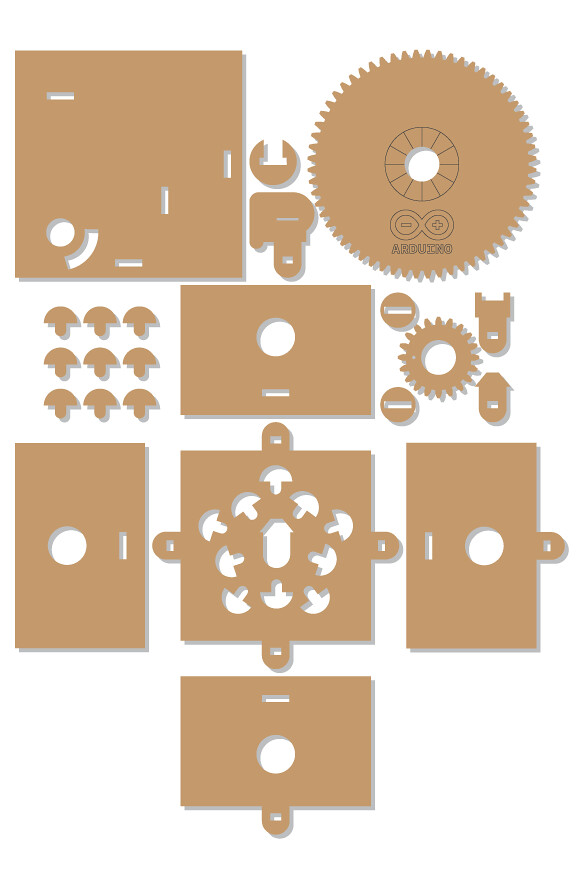
- Binary LP kit
- Binary LP paper disc
Instructions
Code
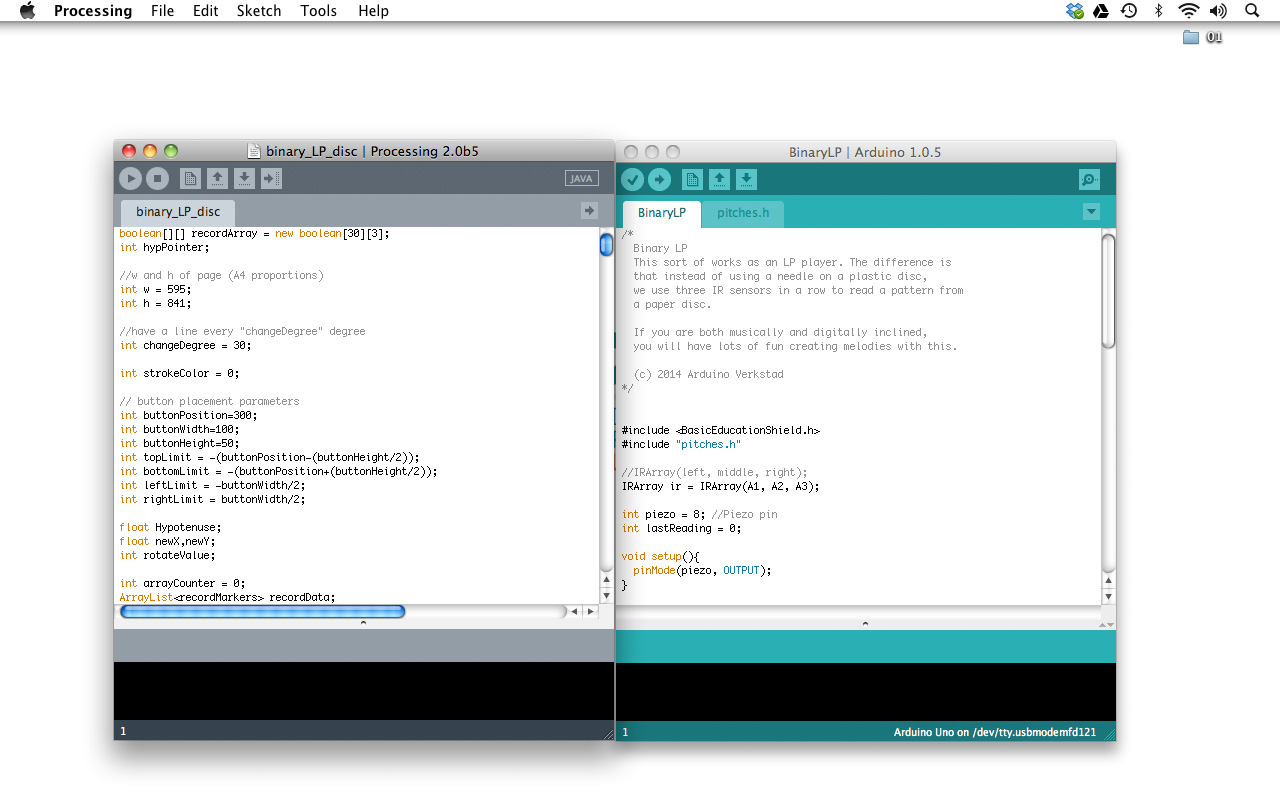
Find the code in File>Examples>EducationShield>Block3-Magic>Projects>BinaryLP
How it works
- The EducationShield library is included.
- pitches.h is included, the file containing the definitions of the notes.
- The IRArray object
iris declared. - The variables
piezoandlastReadingare declared. - In
setup(), the pin where to which thepiezois connected is configured as an output using the variablepiezo. - In
loop(), the binary value read from the IR Array is stored in the variablereading. This value ranges from 0 to 7 and is the binary combination of the white and black areas on each line of the paper disc. 0 means all white, and 7 means all black. - The program jumps to the function
playNote()and reading is passed to the function. - In
playNote(), an if statement checks iflastReadingandris equal to each other.ris the read binary value passed to the function andlastReadingis the previous read binary value. - If the if statement is
trueit means that the same two notes are to be played. To be able to distinguish the two notes,noTone()is called to make the piezo silent. - The program pauses for 20 milliseconds.
- A switch case is used to decide what tone to play depending on the value held by
r. - If
ris equal to 0, nothing is done (the piezo is already silent), ifris equal to 1 the noteNOTE_C4is played etc. - If
ris more than 0, the value ofris assigned tolastReading. - The program jumps back to
loop().
Troubleshooting
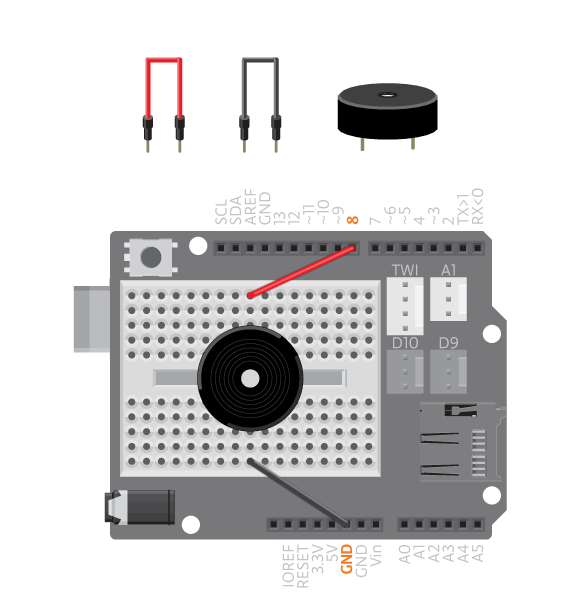
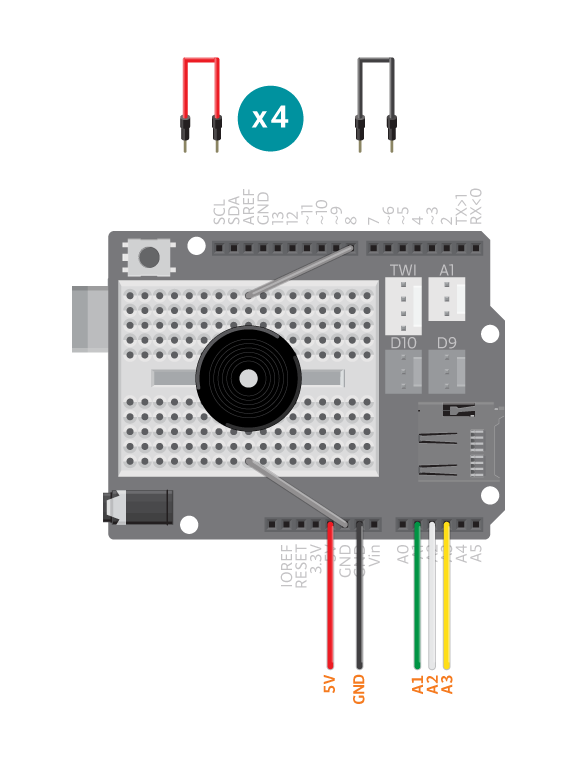
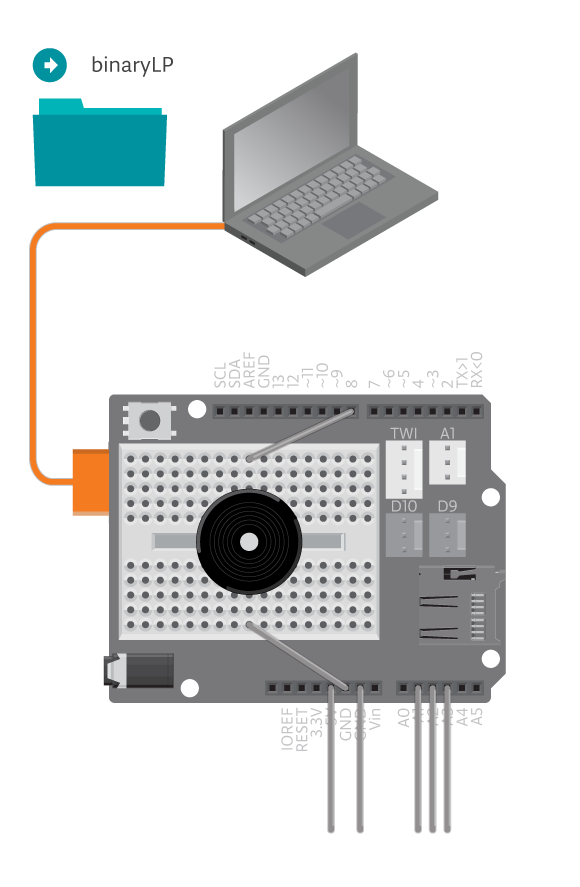
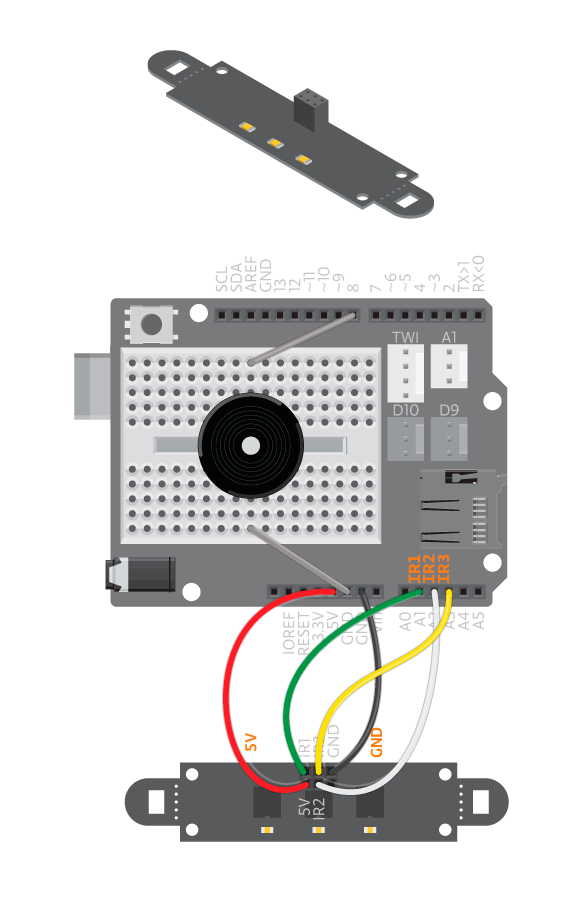
- Refer to the illustration and double check your connections. Make sure the shield and wires are firmly connected.
- Debug the IRArray, see the IR Array reference.
Learn by doing
- Compose a few different melodies.
- Come up with new way to use the binary readings.
