The best way to learn about programming is to write your own programs. You will start by making the shortest program possible using Processing.
Continue reading
Category Archives: Block 1
Setup and draw
The types of program you have written so far are called static programs. This means that the program never change.This is because it runs only once and when it reaches the last line of code, it stops. If the program is to be interactive there needs to be continuous opportunity for input while the program is running. This is possible if the program is continuously looping.
With Processing, you can create programs that continually run by using the function draw(). This function will loop the block of code it contains over and over again until the program is stopped. However, not all code you write needs to be looped. For code that only needs to run once there is another function called setup().
Example 1.5
In this example, you will draw a single line again, like in example 1.1. But this time you will use setup() and draw().
Write and run the following code:

New commands
void: Used when declaring a function.void setup() { code }: The code within the curly brackets runs once when the program starts.void draw(){ code }:The code within the curly brackets runs over and over again. It is executed line by line, top down until it reaches the last line where it starts from the beginning ofdraw()again.
How it works
- The window size is set to 300 x 300 pixels. The size only needs to be set once, so it is written in
setup(). - A line is drawn in
draw(), from top left corner to bottom right. draw()runs again, drawing another line from top left corner to bottom right.draw()continues to loop, drawing a line in each iteration.
Result
You can not actually see that the line is being drawn over and over since it is exactly alike and drawn on the exact same place every time.
Let’s write another program to make this visible.
Example 1.6
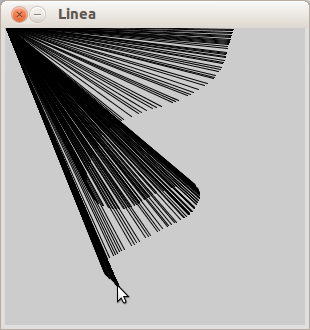
In this example, you will be introduced to mouseX and mouseY, and get a clearer demonstration of how draw() works.
Write and run the following code:
New commands
mouseX: returns the X coordinate of the cursor.mouseY: returns the Y coordinate of the cursor.
How it works
- The program window size is set to 300 x 300 pixels, in
setup(). - In
draw()a line is drawn from coordinates (0,0) to (mouseX,mouseY). The second coordinates of the line depend on where the cursor is located. draw()runs again, drawing another line from coordinates (0,0) to (mouseX,mouseY). This time you probably moved the cursor a little bit, making the new line look different from the first.draw()continues to loop drawing a new line in each iteration.
Result
Moving the cursor around leaves a trace of lines. This is because each line that is drawn is never removed or overdrawn by something else.
Example 1.7
In this example, you will only make a very slight change from the previous example 1.6. See what will happen when you run the following program.
Write and run the following code:

How it works
- The program window size is set to 300 x 300 pixels, in
setup(). - In
draw()the background color is set to white. - A line is drawn from coordinates (
0,0) to (mouseX,mouseY). draw()runs again, setting the background color to white. This will overdraw anything else in the program window, making the previous line disappear.- Another line is drawn from coordinates (
0,0) to (mouseX,mouseY). If you moved the cursor a little bit, the new line looks different from the first. draw()continues to loop, setting the background color and then drawing a new line in each iteration.
Learn by doing
- Display an ellipse with a diameter that changes when you move the cursor.
- Make the background color change as you move the cursor.
Screens and pixels
Computer screens are used to display images. These images can be dynamic like in the movies or static like pictures. You can see documents that display a combination of text and graphics. Most of the time, the images on the screen are a mixture of many things, including animations, texts, statistics, etc..
Continue reading
Red snake
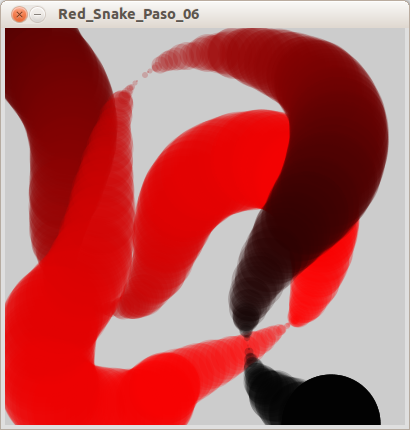
In this mini-project, you will learn how to program a moving object leaving traces of the mouse movement on the screen. You will step by step be taken through the programming, adding a feature for each step.
Catch the apple
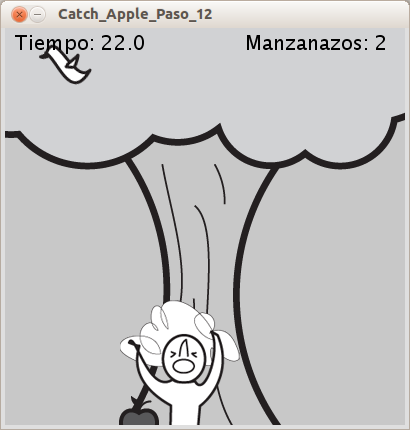
In this project, you will delve a bit deeper into programming. You will create a game where the famous scientist, Newton, tries to get apples to fall on his head.
You will create the game step-by-step, adding complexity as you move along. The aim is for Newton to collect points by getting bumped on the head by as many apples as possible in half a minute.
Variables
Variables are something you will use all the time when programing. They are a kind of container for different types of data. For each variable you need to specify the type of data it will contain; the name of the variable; and the value to assign to it.
Think of them as jars. Say that you have two jars, one for cookies and one for words, these are the data types. You give each jar a name; cookieJar and jarOfWord. Then you decide what to put in each jar. In cookieJar you put a double chocolate chip cookie and in jarOfWord you put “Arduino”. Now each jar has a value.
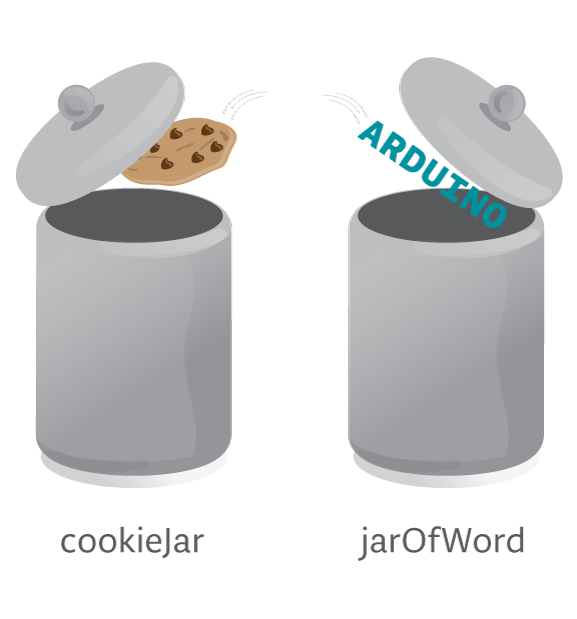
You can change the content of the jars, that is the value, at any time. As long as it is of the same type. E.g. you can replace the double chocolate chip with an oreo and “Arduino” with “spaceinvader”.
To make it clearer, write a program that draws two lines again, this time using variables.
Example 1.3
In this example, you will draw two lines, similar to example 1.2, but this time you will use variables to set the coordinates.
Write and run the following code:

New commands
int variableName = value: Creates a variable of the data type integer.variableNamecan be any name you choose.valueis the value you want your variable to hold.
How it works
- An integer variable,
value1, is declared and given the value 0. Wherever in your code you writevalue1, this will now mean 0. - Another variable,
value2, is declared and given the value 100. Wherever in your code you writevalue2, this will now mean 100. - A line is drawn from coordinates (
value1,value1) = (0,0), to (value2,value2) = (100,100). - A second line is drawn from coordinates (
value1,value2) = (0,100), to (value2,value1) = (100,0). - Change the variable values and see what happens with the lines.
Data types
The most common data types you will use are the following:
integer, (int): A whole number, e.g., 4, 99 or 532float: A decimal number, e.g. 2.76, 8.211 or 900.3boolean: Can be either true or falsechar: A character, e.g., ‘r’, ‘2’ or ‘%’.String: A sequence of characters, e.g., “Hello.”, “I luv programming!!!” or “&%!@¤”.
System variables
Processing includes some of the system variables to make them more accessible within your programs. One example is width and height. These variables return the width and height in pixels of your program window.
Example 1.4
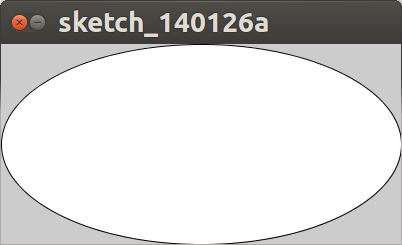
In this example, you will draw an ellipse which size depends on the size of the program window.
Write and run the following code:
New commands
size(windowWidth, windowHeight): Sets the size of the program window in pixels.ellipse(x, y, xDiameter, yDiameter): draws an ellipse with the center in coordinatesxandy. The size is set withxDiameterandyDiameter. When these two parameters are equal, the result is a circle.width: returns the width of the program window in pixels.height: returns the height of the program window in pixels.
How it works
- The program window size is set to 400 x 200 pixels.
- An ellipse is drawn with the center point in coordinates (
width/2,height/2) = (200,100). Meaning it will be located in the center of the program window. - The ellipse’s x diameter is set to the same size as the width of the program window = 400 pixels.
- The ellipse’s y diameter is set to the same size as the program window height = 200 pixels.
Result
Using the width and height variables, the ellipse will fit the program window, no matter what size you set the window to. Try it out by changing the window size.
Learn by doing
- Draw a happy face, using lines and ellipses.
- Make the happy face scale with the window size.
Post-it® Clock
In this project you will create a clock where the numbers are represented by photographs of digits made out of Post-its. To do this, you will learn to use images in your programs and store them into arrays (explained later). You will go through the programming step by step.
