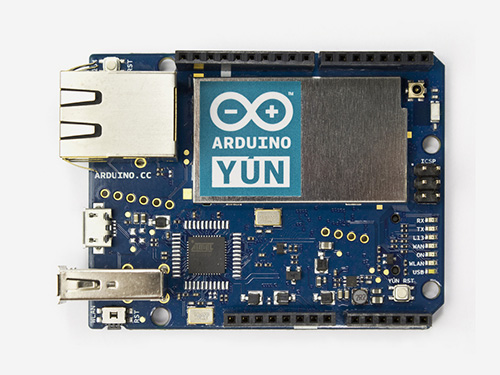
For a device to be IoT, it needs to be connected somehow. If the device happens to be in a home/building, an alternative for that connection would be Wifi.
For the following experiments, we will be using the Arduino Yún. It is similar to the Arduino Uno, but with an onboard Wifi module. (See reference for a better comparison between the two boards.)
Wifi
Wifi is technology for wireless networks, also known as WLAN. The “W”is for wireless and “LAN” is for Local Area Network. By connecting to one of these wireless networks a device can gain access to the Internet.
Configure Arduino Yún
Refer to CTC IoT Teacher Guide #1.
The Arduino Yún is able to connect to Wifi the same way as a computer would. Configuring it is a different process entirely, especially since it does not have a screen:
- Connect the unconfigured Arduino Yún to your computer with a micro-USB cable.
- After about two minutes, it will have finished starting up and will broadcast its own Wifi network with the following format:
- Once connected, open a web browser and type either of these into the address bar: “http://arduino.local” or “192.168.240.1”
- Log in to the start page. For unconfigured Arduino Yúns, the password “arduino”.

- Click the “CONFIGURE” button on the information page.

- Under “YUN BOARD CONFIGURATION”, change the timezone and country.
- Under “WIRELESS PARAMETERS”, choose your Wifi network and enter in the password.

- Click the “CONFIGURE & RESTART” button. The Yún will restart and will be ready with the new change you made in it.

ArduinoYun-XXXXXXXXXXXX
Write this unique identifier down on a piece of paper and stick it onto the Yun. This will make identifying it later a lot easier. Connect your computer’s Wifi to the Yún.

Note: If this does not show up, you may need to reset the Wifi settings. To do so, refer to this page: https://www.arduino.cc/en/Guide/ArduinoYun
More information can be fund at: https://www.arduino.cc/en/Guide/ArduinoYun