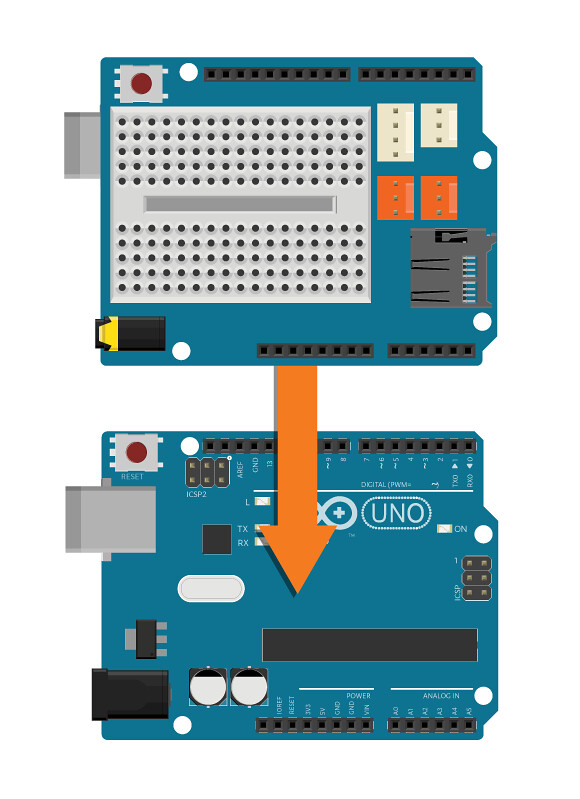
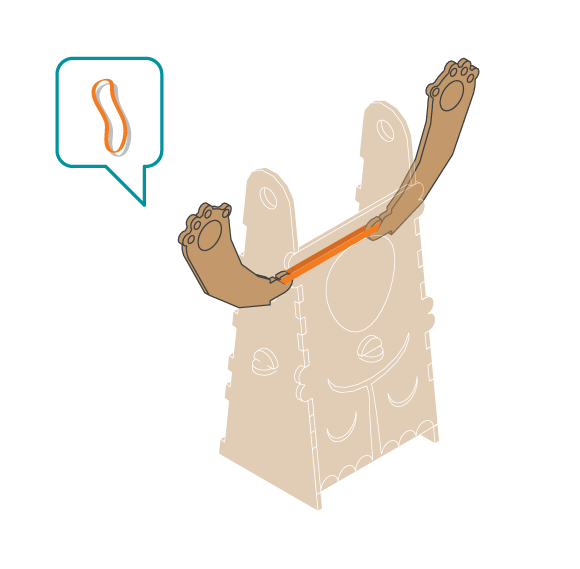
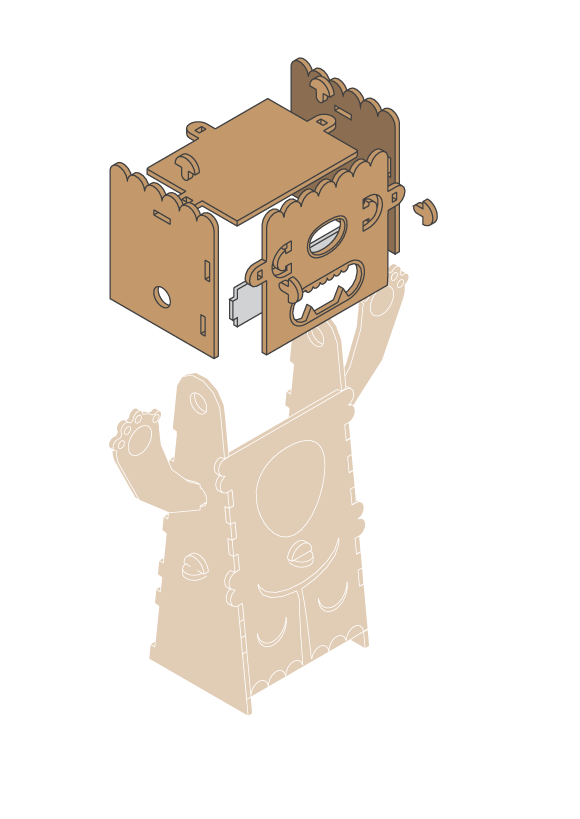
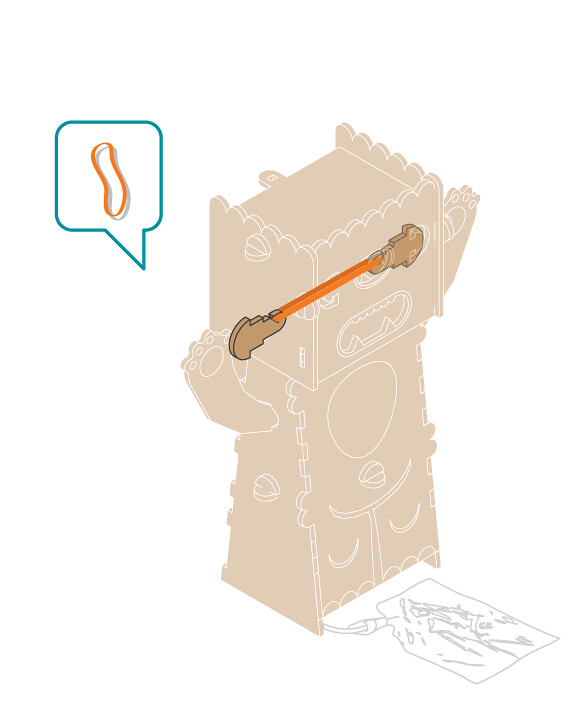
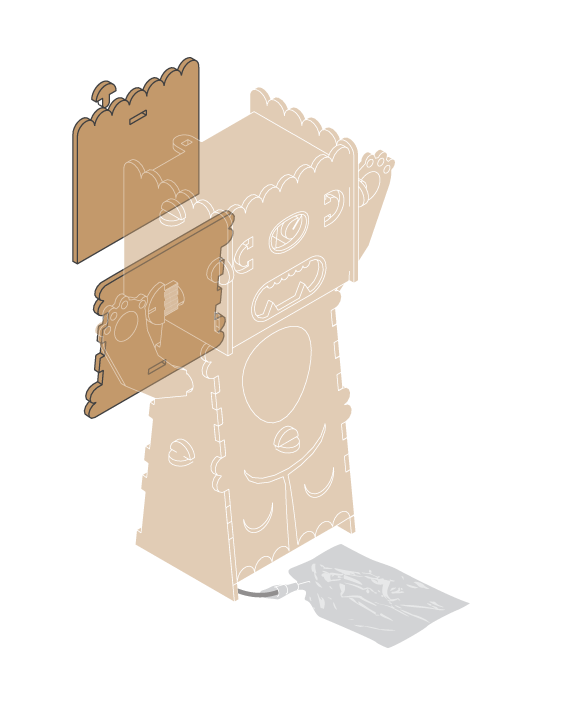
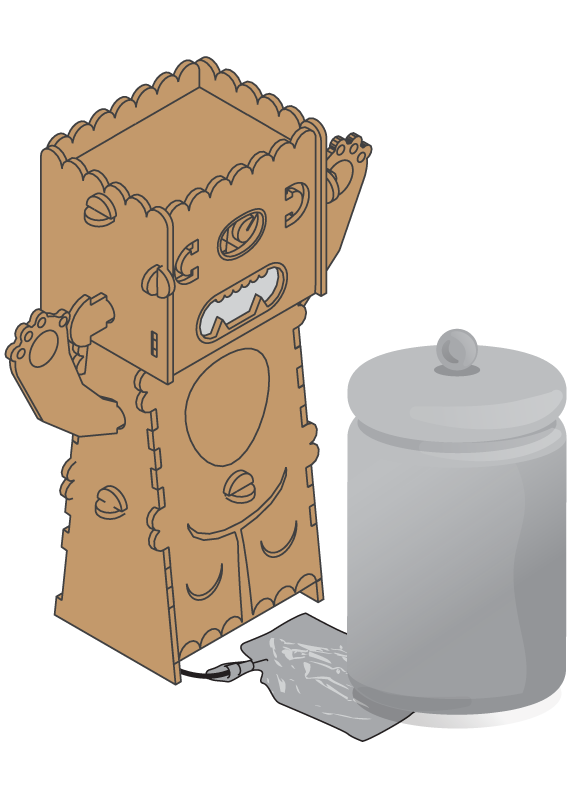
We found out someone is eating the cookies from the jar in the kitchen! We thought about it and came to the conclusion that the best thing to do would be to prepare a trap to find out who was eating them. Let us build something that will take a picture of whoever opens the cookie jar. No cookie monsters were hurt in the making of this experiment.
Materials

- 1 Arduino Uno board
- 1 Education Shield
- 1 breadboard
- 1 web camera
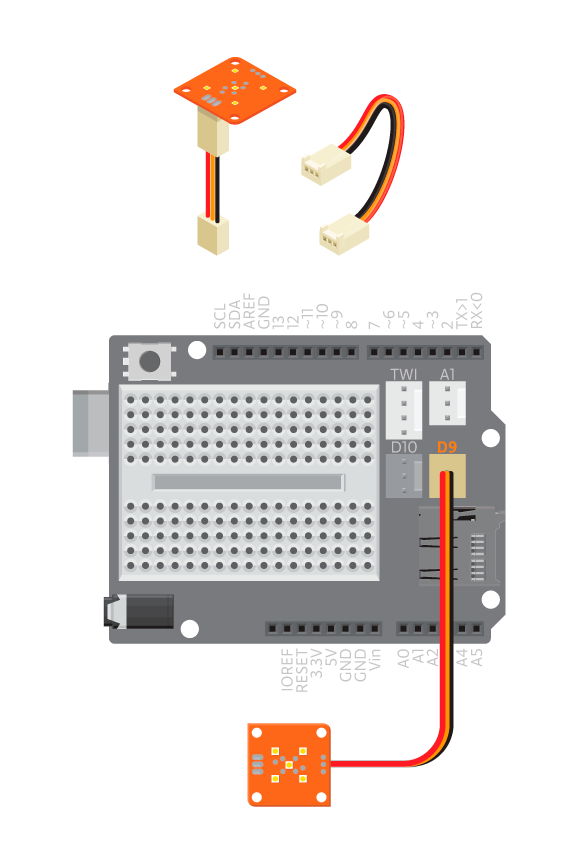
- 1 TinkerKit ultra bright white LED
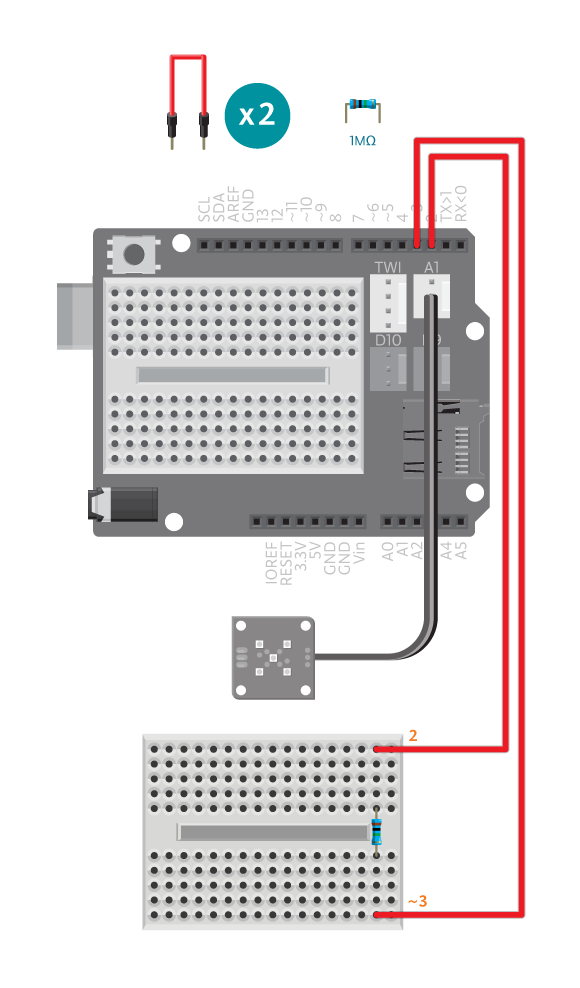
- 1 1M ohm resistor
- 1 TinkerKit wire
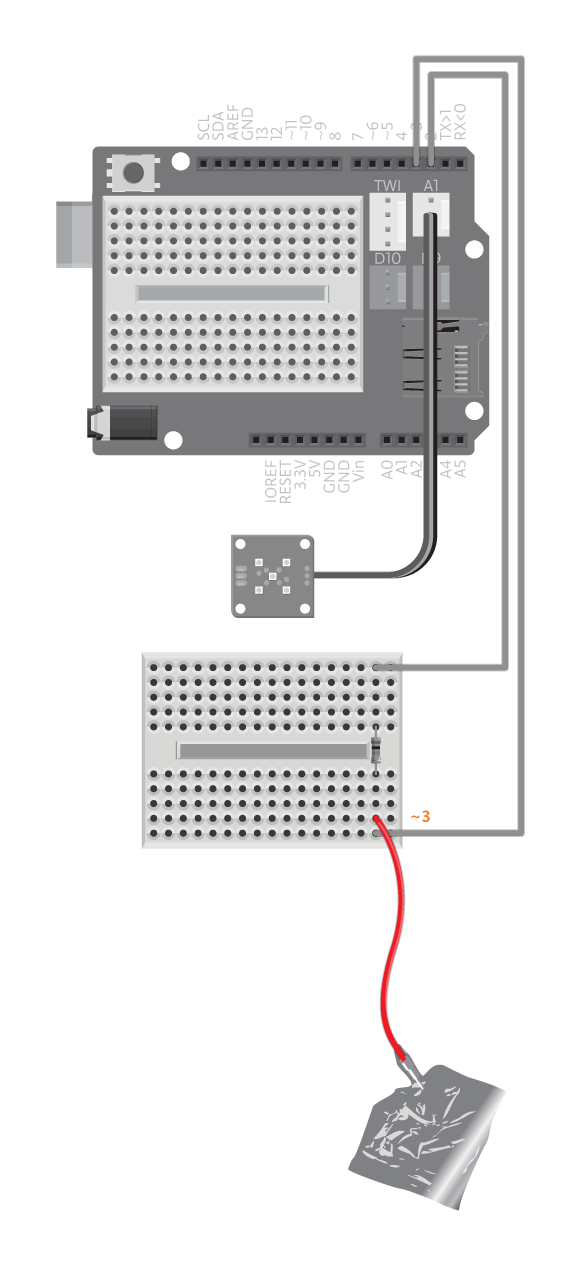
- 3 colored jumper wires (one long)
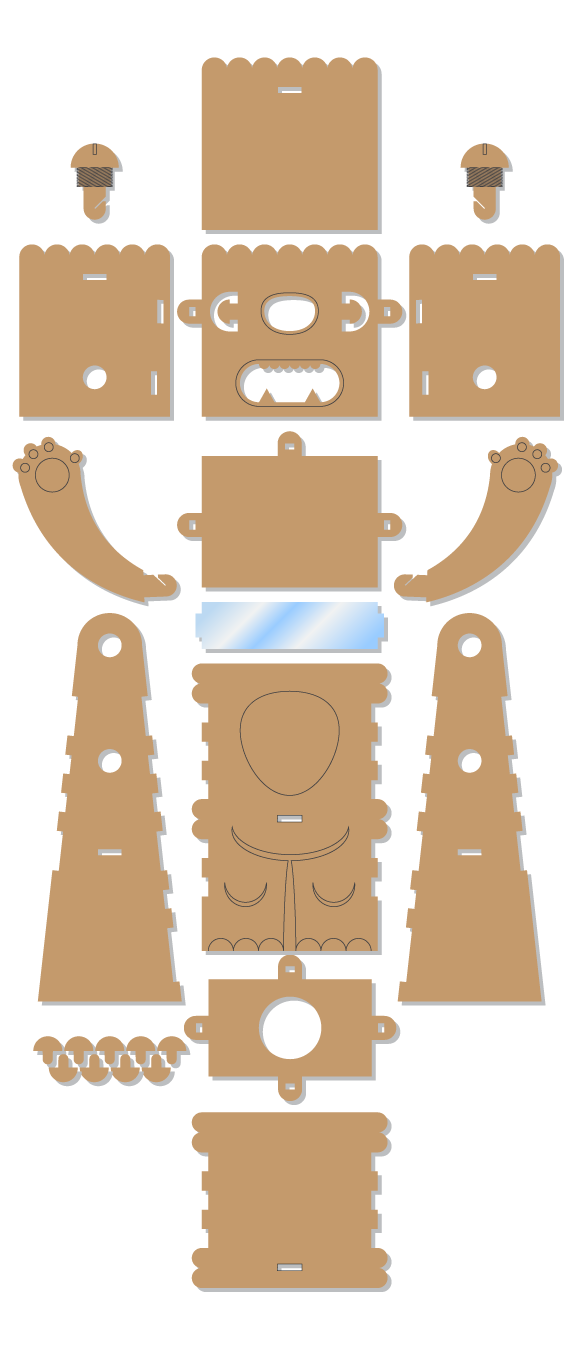
- Cookie Monster kit
- Aluminum foil
- 1 conductive cookie jar
- 3-4 rubber bands
Instructions
Code
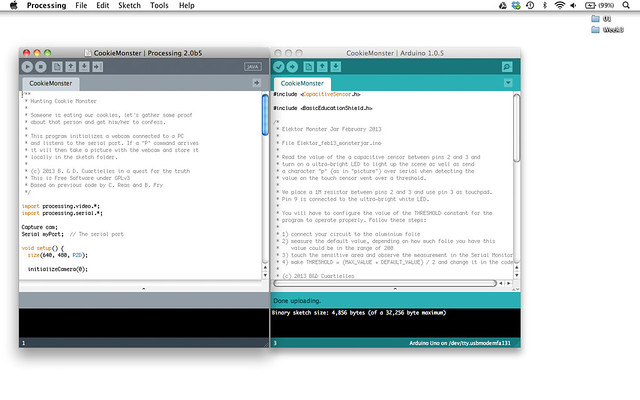
Find the code in File>Examples>EducationShield>Block3-Magic>Projects>CookieMonster
Find the Processing code for capturing webcam images of your cookie thief in File>Examples>EducationShield>Block3-Magic>Projects>CookieMonster>Processing>CookieMonster
How it works
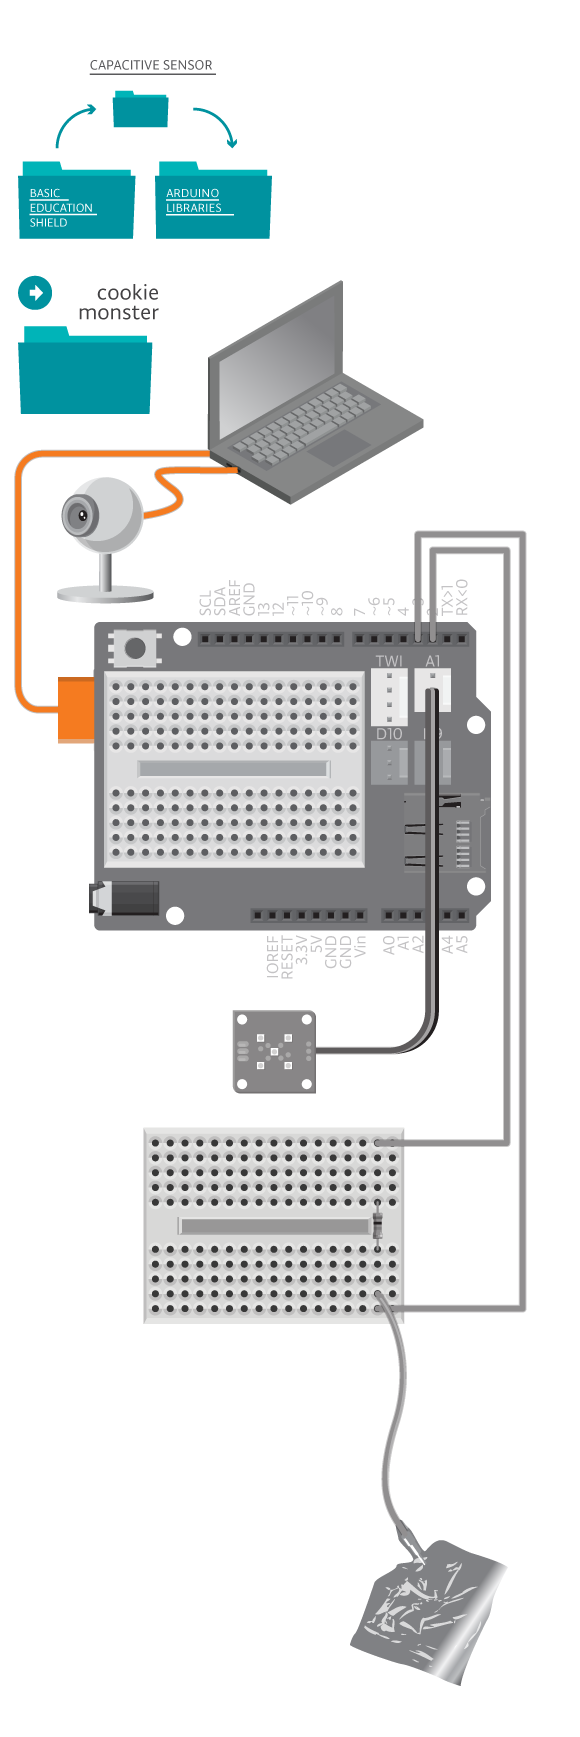
When you touch the cookie jar, the capacitive sensor is activated and Arduino sends a “p” character to Processing through the serial port. When the Processing sketch receives this character, it takes a picture using the webcam.
Arduino
- The EducationShield and CapacitiveSensor libraries are included.
- The CapacitiveSwitch object,
sensoris declared. - The variable
ledis declared. - In
setup(), serial communication is initialized. - The capacitive sensor is configured and initialized.
- The
ledpin is set as an output. - In
loop(), if the capacitive sensor is pressed, that is touched, the LED is turned on and ‘p’ is printed to the serial port. - The program pauses for 2000 milliseconds.
- If the sensor is not pressed, nothing happens.
Processing
- The processing video and serial libraries are included.
- The camera and serial port objects are declared.
- In
setup(), the window size is set to 640 x 480 pixels, and the rendererP2Dis chosen. - The camera and serial port are configured and initialized.
- In
draw(), if the camera is available, the camera image is read. - The image read from the camera is drawn to the program window.
- The String variable
timeStampis declared to hold current date and time. - The text
timeStampis drawn in coordinates (10,height-10). - If the key ‘p’ or ‘P’ is pressed the current image is saved to the sketch’s data folder.
- If the serial port is available, the incoming data is read and stored in
inByte. - If
inByteis equal to ‘p’, the current image is saved to the sketch’s data folder.
Troubleshooting
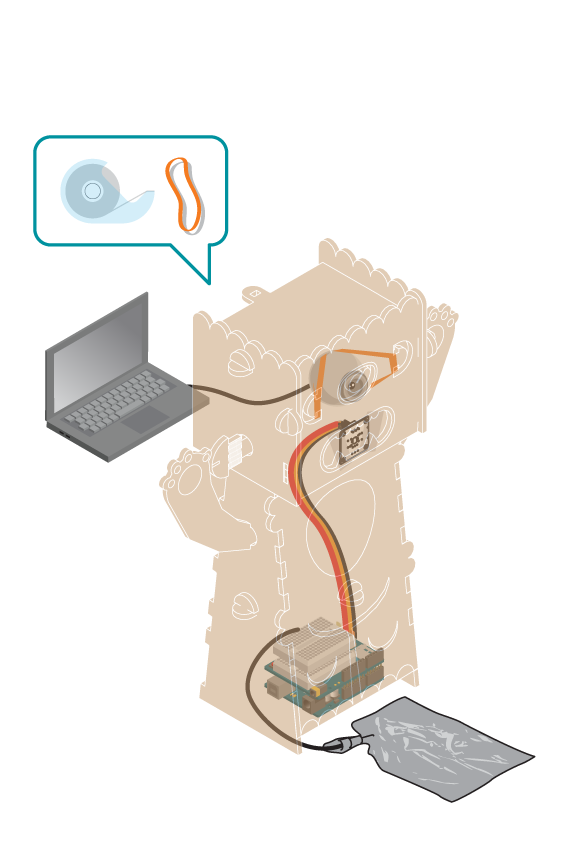
- Refer to the illustration and double check your connections. Make sure the shield and jumper wires are firmly connected.
- If Processing is reporting error and no image is showing up, make sure you have the latest version of Processing, and:
- Arduino is connected to the computer, and in
myPort = new Serial(this, Serial.list()[0], 9600)is using the serial port number of your Arduino board. Find it in Tools>Serial Port in the Arduino IDE. initializeCamera()is using the correct camera number from the list printed out by Processing.
- Arduino is connected to the computer, and in
- If you are touching the cookie jar and no image is captured, try touching the capacitive sensor directly. If it is working, you need a more conductive cookie jar. If not, see the capacitive sensor reference for debugging.
- If you can not find the picture of cookie thief, look into the CookieMonster sketch folder of Processing for it.
Learn by doing
- Change the reaction time: make the monster wait for a few seconds before taking the picture, so you catch the thief with cookie in hand!
- Record a monster sound according to these instructions, and use an 8 ohm speaker to play the sound when the capacitive sensor is triggered.
