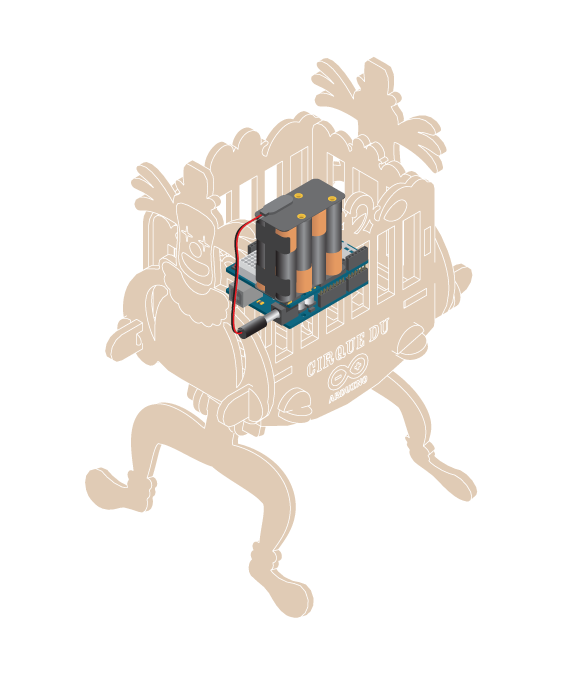
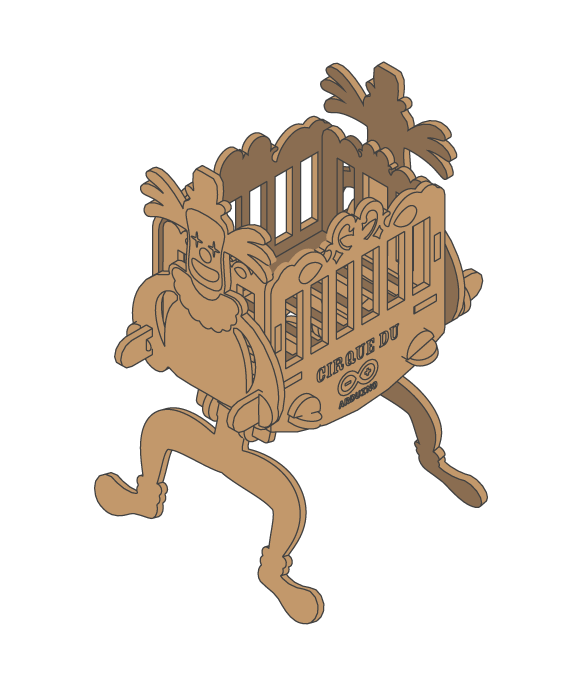
This small robot can crawl. It is all it can do, and it is not very good at it. But it is super cute and great fun.
Materials
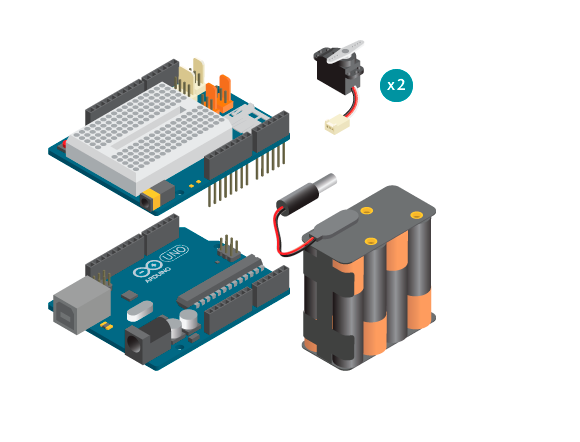

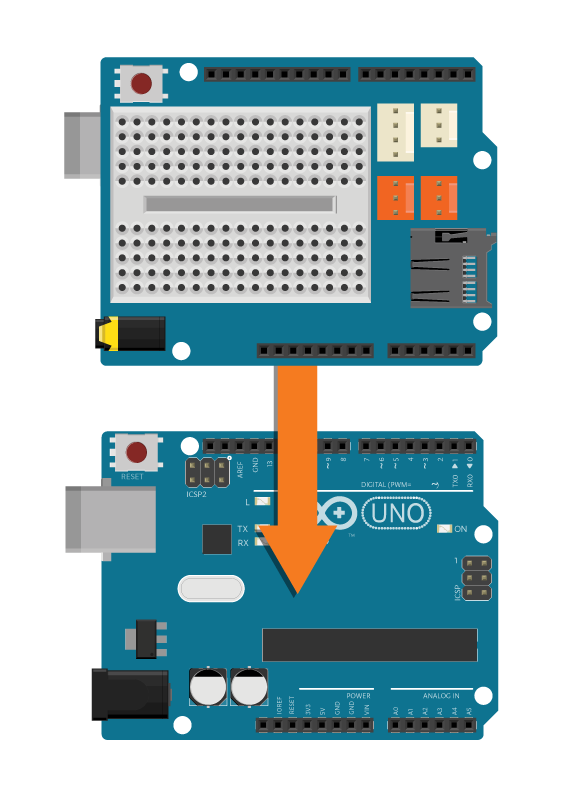
- 1 Arduino Uno board
- 1 Education Shield
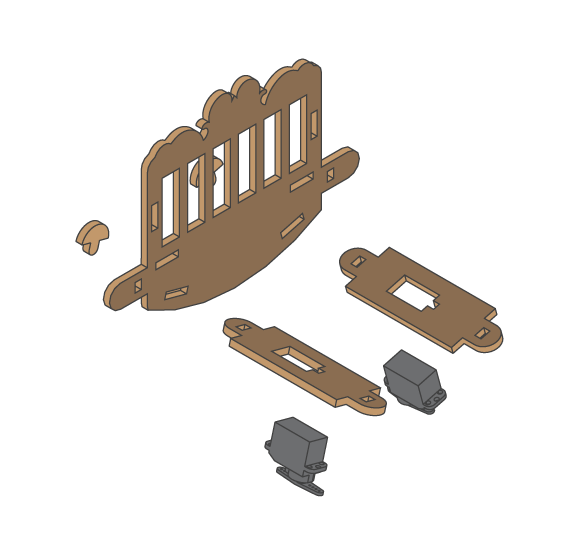
- 2 standard servos
- 8 AA batteries
- 1 AA battery holder
- 1 power plug
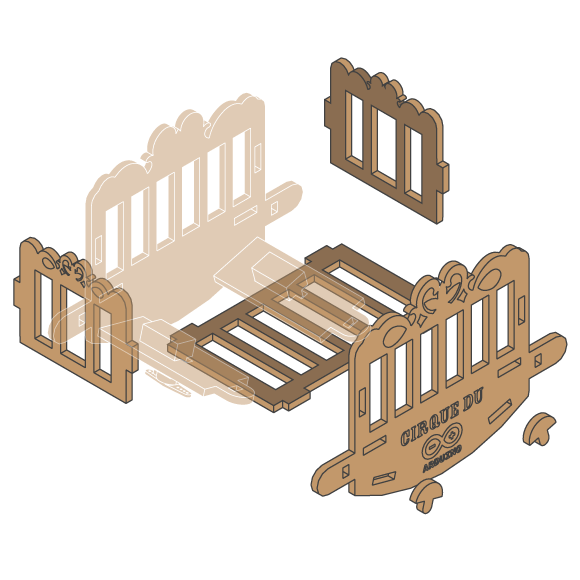
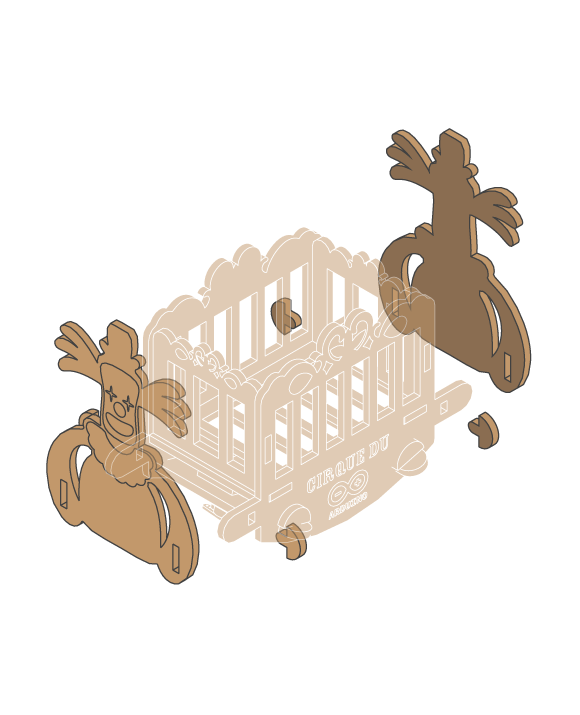
- Crawling robot kit
Instructions
Code
Find the code in File>Examples>EducationShield>Block4-Robots>Projects>CrawlingRobot
How it works
- The EducationShield and Servo libraries are included.
- The Servo objects are declared.
- In
setup(), the Servo objects are initialized. - The front servo position is set to 110 degrees.
- The program pauses for 200 milliseconds.
- The back servo position is set to 70 degrees.
- The program pauses for 200 milliseconds.
- The front servo position is set to 70 degrees.
- The program pauses for 200 milliseconds.
- The back servo position is set to 110 degrees.
- The program pauses for 200 milliseconds.
loop()continues to loop.
Troubleshooting
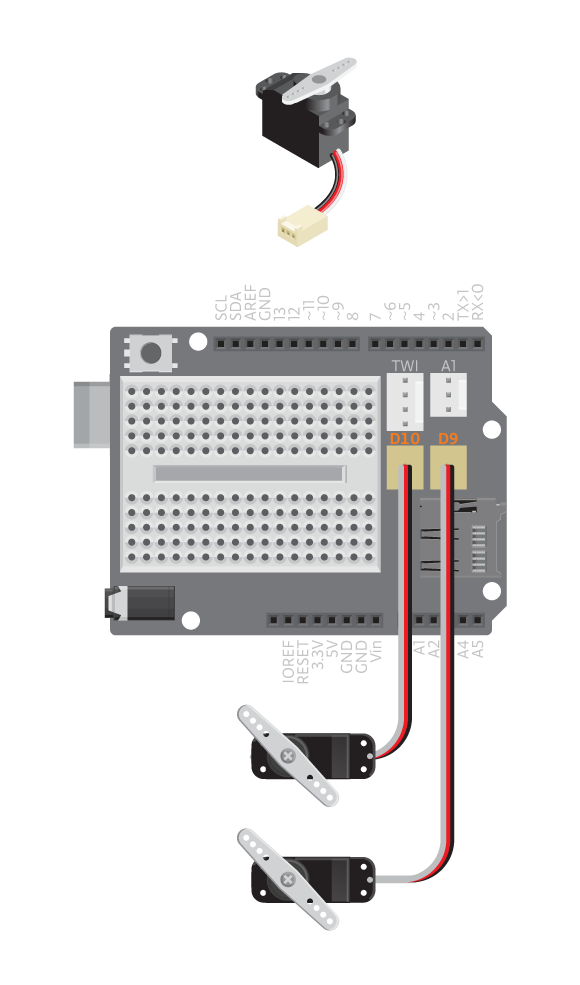
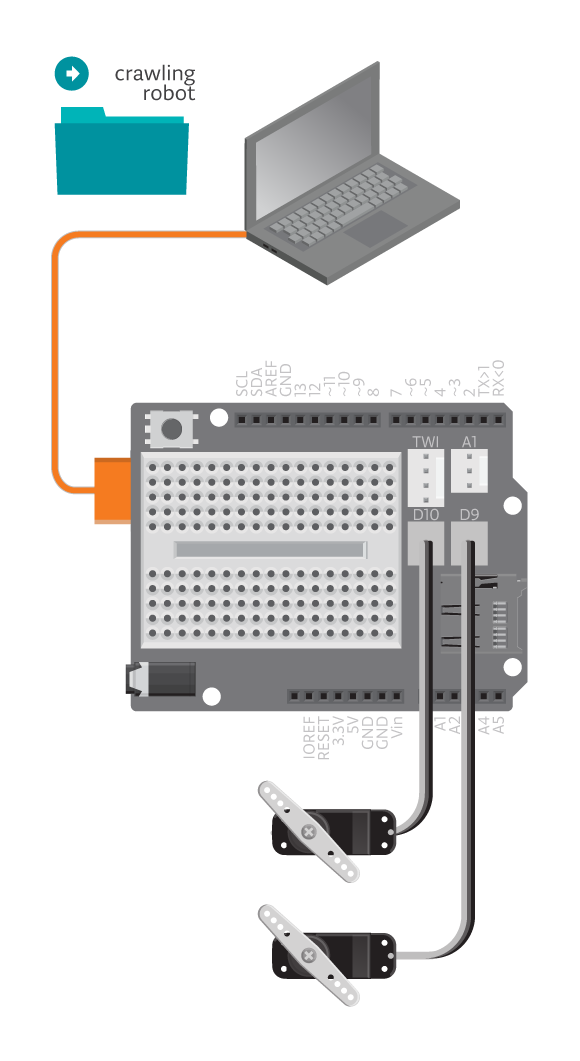
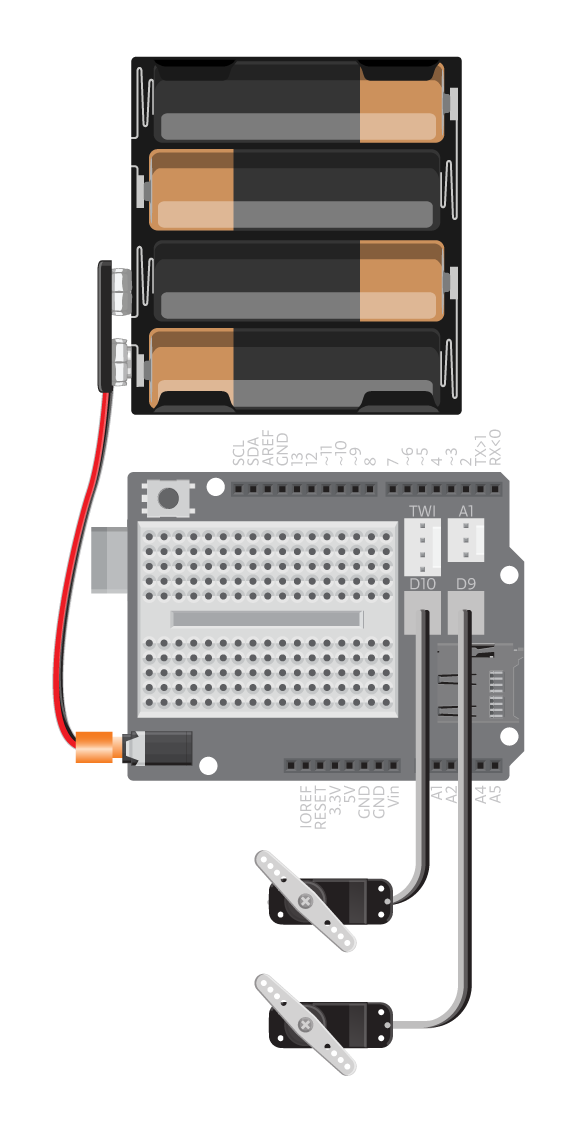
- Refer to the illustration and double check your connections. Make sure the shield and jumper wires are firmly connected.
- The servos might not be working. Test if it works when the Arduino is plugged into the computer instead of the battery. If it is, try changing the battery.
- If it is still not working, make sure you have connected the servos properly. See the standard servo referencefor debugging.
Learn by doing
- If you want the robot to take bigger or smaller steps, change the angles.
- If you want the robot to crawl faster or slower, try changing the delay time.
- See in how many different ways you can make the robot crawl and which one is the most effective.
