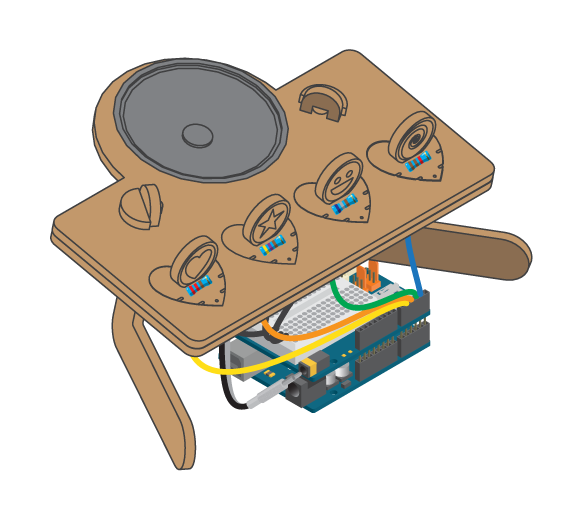
Play beats and change the sequence in real time. It is basically all you need to become a hip-hop artist. That, and rapper skills. But that is another course.
Materials
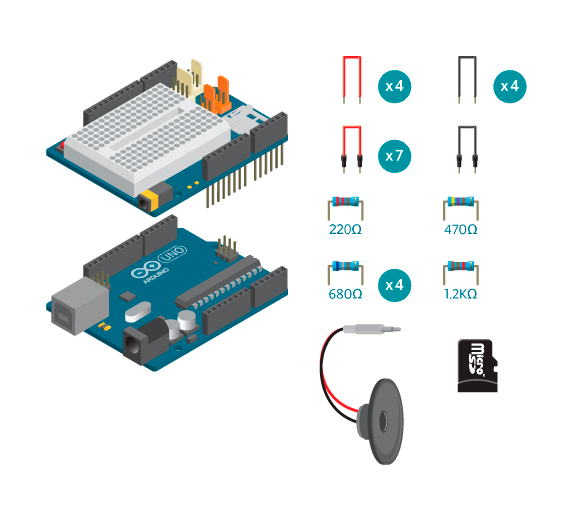
- 1 Arduino Uno board
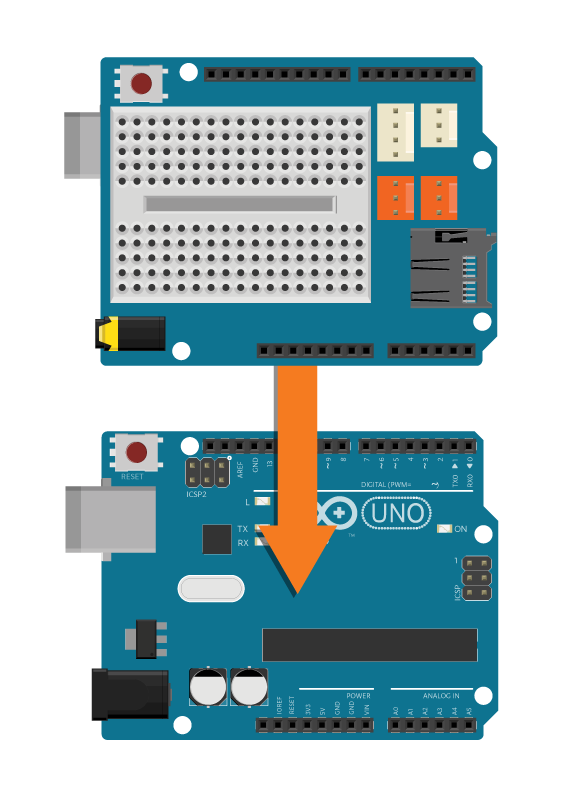
- 1 Education Shield
- 1 micro SD card
- 1 8 ohm speaker
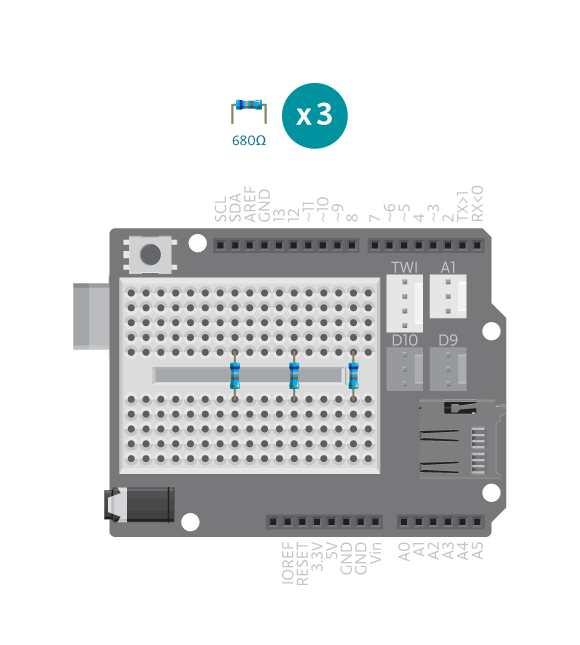
- 4 680 ohm resistors
- 1 220 ohm resistor
- 1 470 ohm resistor
- 1 1.2k ohm resistor
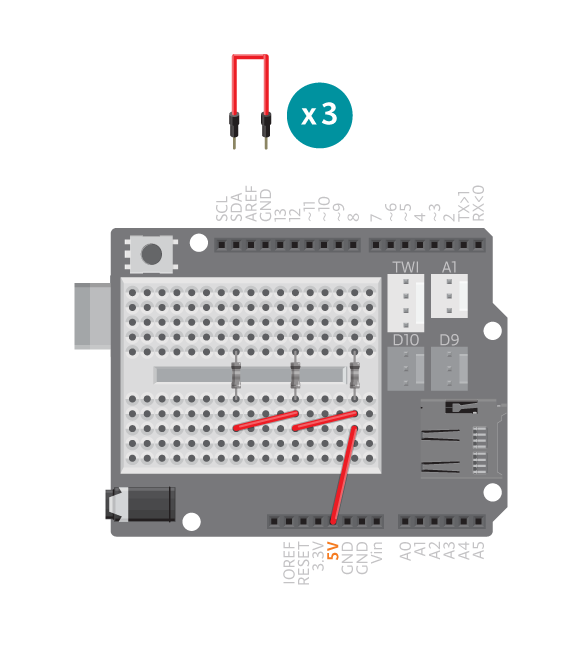
- 1 black jumper wire
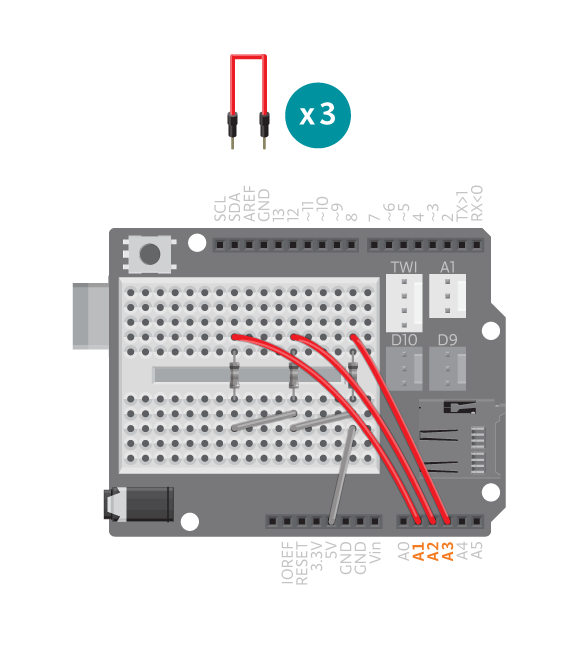
- 7 colored jumper wires
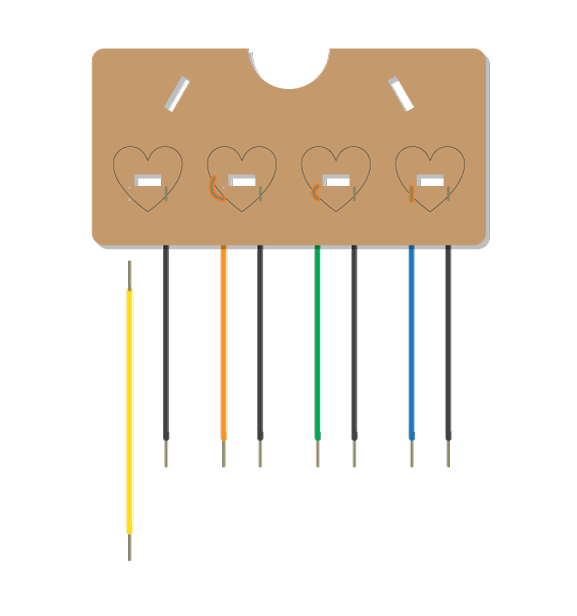
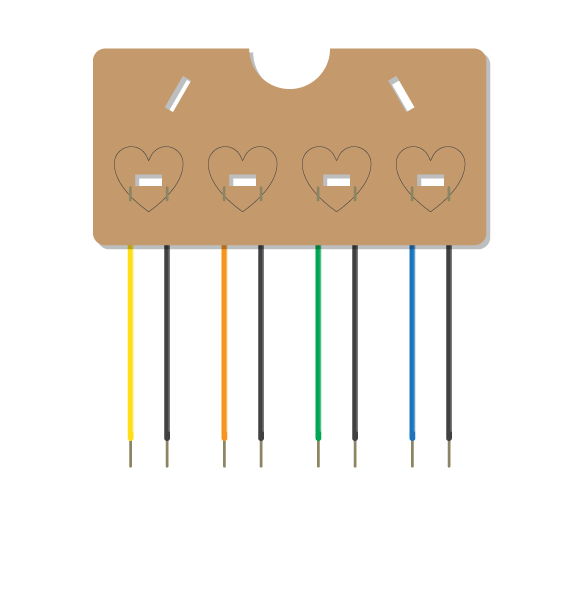
- 4 black loose wires
- 4 colored loose wires
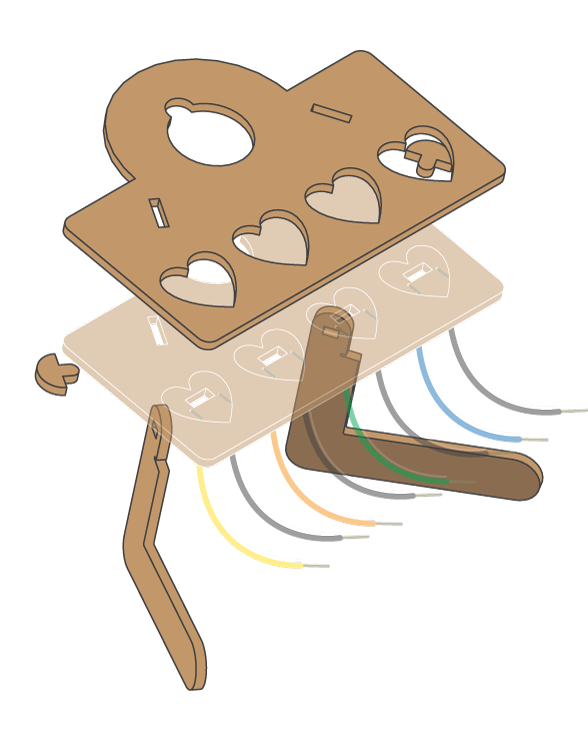
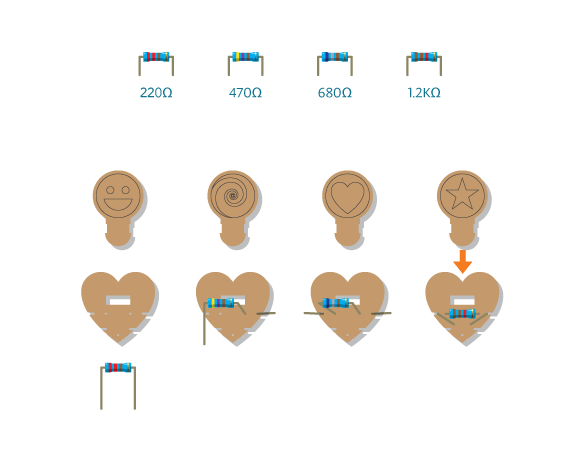
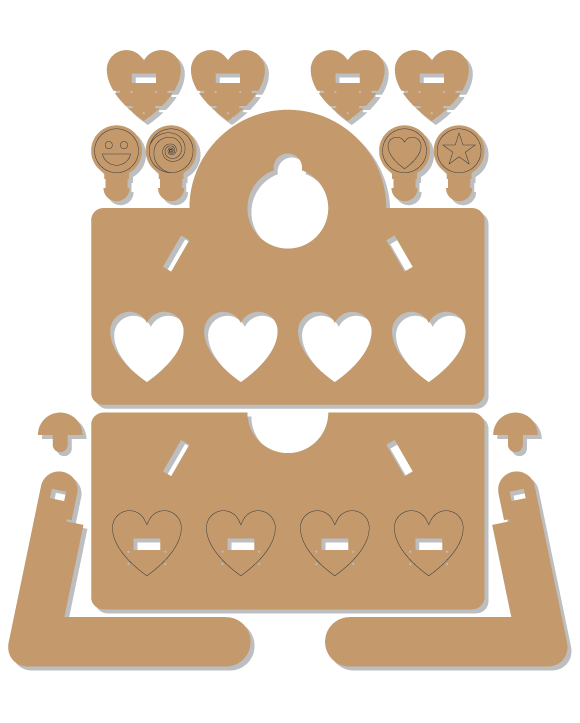
- Sequencer kit
Instructions
Code
Find the code in File>Examples>EducationShield>Block3-Magic>Projects>Sequencer
How it works
- The EducationShield and SD libraries are included.
- The Player object
playeris declared. - The variables that has to do with the analog pins are declared,
analog_pins[]andpin_count. - The char array
filename[]is declared to hold the template filename “seq0.wav”. - In
setup(), the serial communication is initialized. - The Player object is initialized.
- In
loop(), a for loop loops for as many times as the value ofpin_count, one time for each analog sensor. - In each loop of the for loop, the variable
slot_valueis declared to hold the read analog value fromanalog_pins[i]. In the first loopiis equal to 0 which means the analog value is read from analog pin 4. - The variable
sequenceis declared to hold the value returned bygetSeq(). - The program jumps to the function
getSeq()andslot_valueis passed to the function. - In
getSeq(), an if-else statement checks within which range the read analog value,analogVal, is. - A number from 1 to 4 is returned by the function
getSeq(), depending on the result of the if-else statement. A 0 is returned ifanalogValis not within any of the ranges. - The program jumps back to
loop()where the returned value is stored in the variablesequence. - The fourth character in
filename[]is replaced with the value ofsequence. - The file name is printed to the serial port so you can read it in the serial monitor.
- The file is played.
- “=======” is printed to the serial port.
loop()continues to loop.
Troubleshooting
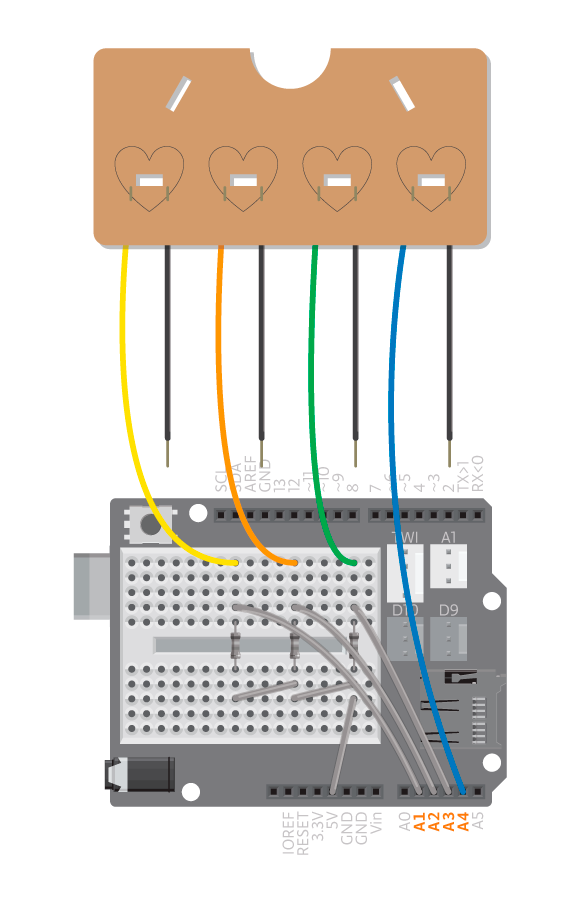
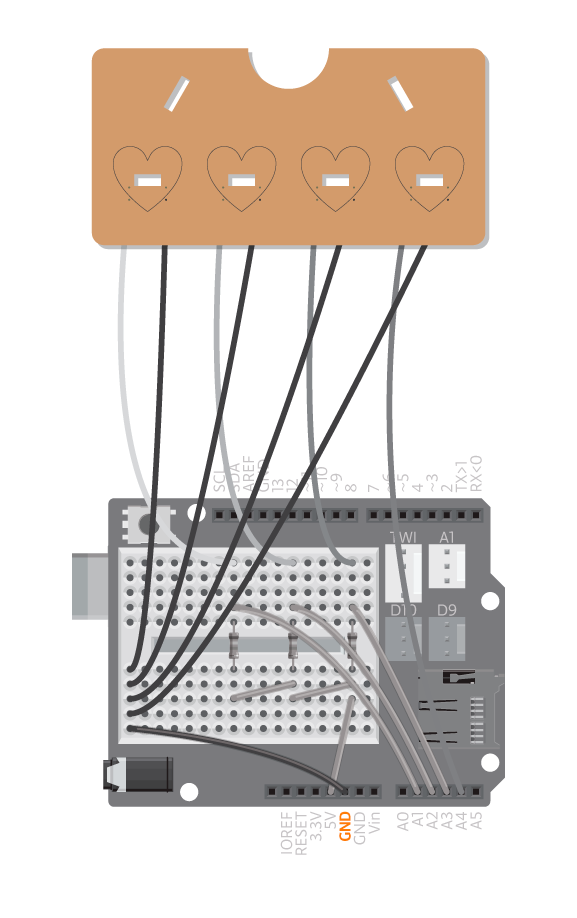
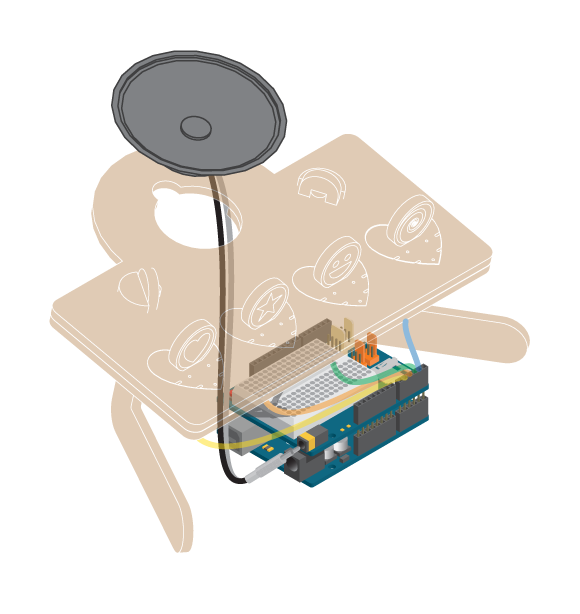
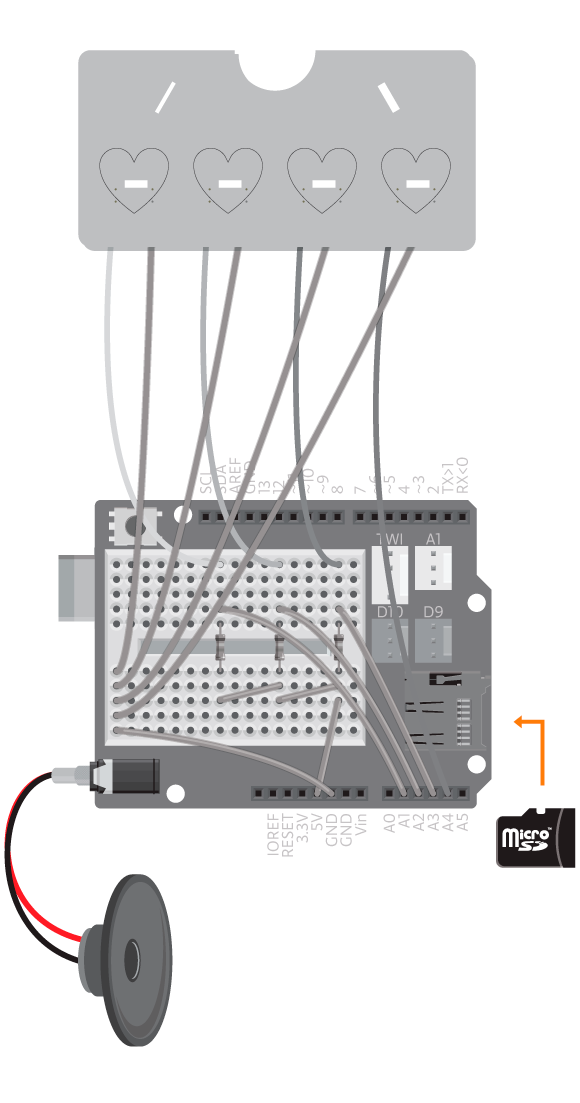
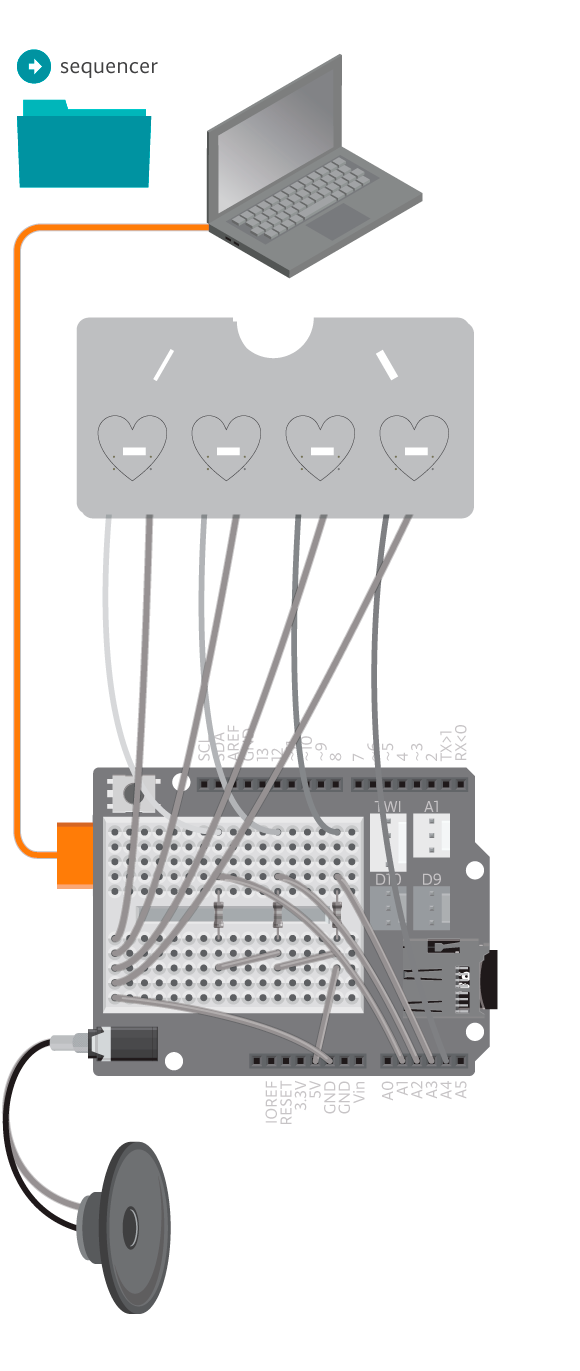
- Refer to the illustrations and double check all your connections. Make sure the shield and wires are firmly connected.
- If you are having problems playing the sound files, check the reference for debugging the sound player.
- Make sure you are using the right resistors. Check the reference to see how to check it.
Learn by doing
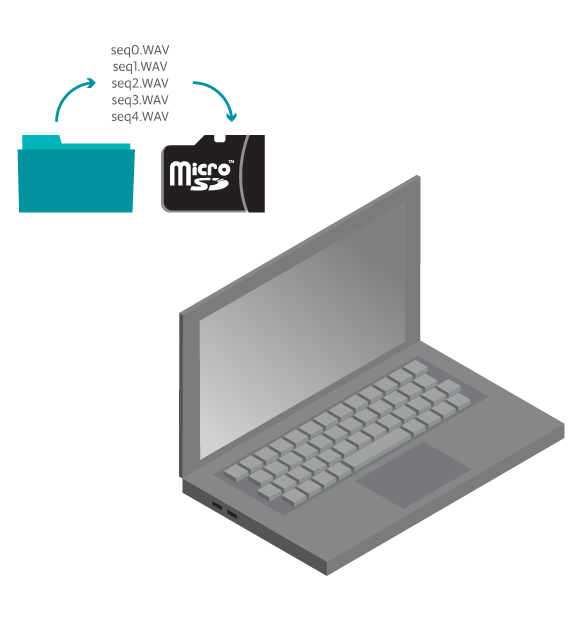
- Record your own 5 wav sounds and name them ‘seq0.wav’, ‘seq1.wav’, ‘seq2.wav’, ‘seq3.wav’ and ‘seq4.wav’. They should all be equally long for the best result and ‘seq0.wav’ should be silent. See reference Prepare Wav Sound for details.
